I've been meaning to pop this post up for a while now, it seems I haven't done a D.I.Y in aaages!
This one is quite simple, and can be a really cute addition to your sewing tool collection- whilst being very pretty and practical to use!
You will need:
~ 1 x pretty teacup and saucer (make sure its an old one!)
~ 1 x glue gun and glue sticks to go in it
~ 1 x (approx) 30cm x 30cm piece of scrap fabric
~ Scissors
~ A handful of cushion stuffing/wadding
Most of these are things that can be found quite easily. I bought my teacup from a local charity shop for 50p (I definitely recommend popping down to your local charity shop, you'll get a lovely one for half nothing!). I also got the fabric from my fabric stash, any kind is suitable, as long as it goes nicely with your teacup! I took the wadding out of a cushion I had made in GCSE textiles (shh!), but you could easily get some from any haberdashery shop. The glue gun was borrowed from my mum, but you could use any glue to fix the pieces together :)
Instructions:
1. Take your teacup and saucer, and turn the teacup upside down. Run a thin layer of glue around the rim of the base of the teacup, just where it would touch the saucer when they sit together.
2. Line up the bottom of the cup and the ring in the centre of the saucer:
...and press it down firmly in the correct place.
3. Wait a while for it to dry (this will vary depending on the type of glue you use!)- if you use a glue gun, it should fix pretty quickly :)
All fixed nicely :) The saucer will give you a handy place to store your thread, scissors, thimbles, buttons etc whilst you are sewing!
4. Take your wadding and make sure it is just the right amount to fit inside the teacup. Try it for size:
5. Now take your fabric, and place the wadding in the centre and wrap the fabric around it, pulling it in at the bottom:
6. Take a strip of the fabric you have been using (although you can just use string, or even an elastic band!) and tie the ball of wadding into the fabric. Give it a prod and a poke to make it a nice even blob shape to fit nicely into your teacup :)
7. Snip off the excess fabric with a pair of scissors. This doesn't have to be neat as it will be hidden!
8. Next, pop the cushion into the teacup and just take note approximately where the sides touch so you know where abouts to put the glue. Then remove the cushion, and put a generous amount of glue about mid way up in the teacup, all the way around.
9. Quickly, whilst the glue is still wet, take your cushion and press it into the teacup, making sure the sides touch the cushion. Hold it down for about 30 seconds or so (again depending on the glue you use!) until it is fixed in nicely!
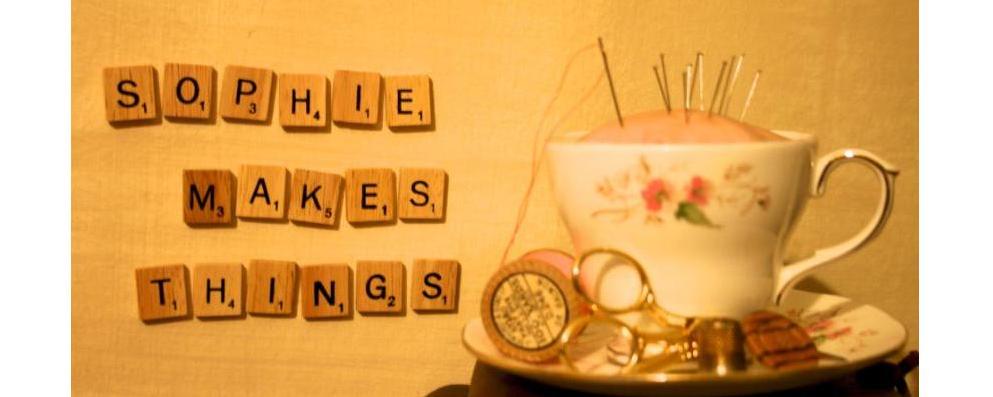
10. Now you are ready to fill it with your pins, and pop all of your sewing essentials onto the saucer! Very handy to have next to you when you are sewing, and also a nice ornament to have decorating your workspace :)
Let me know if any of you lovelies try this, I'd love to see what you come up with!
Happy sewing :)
x


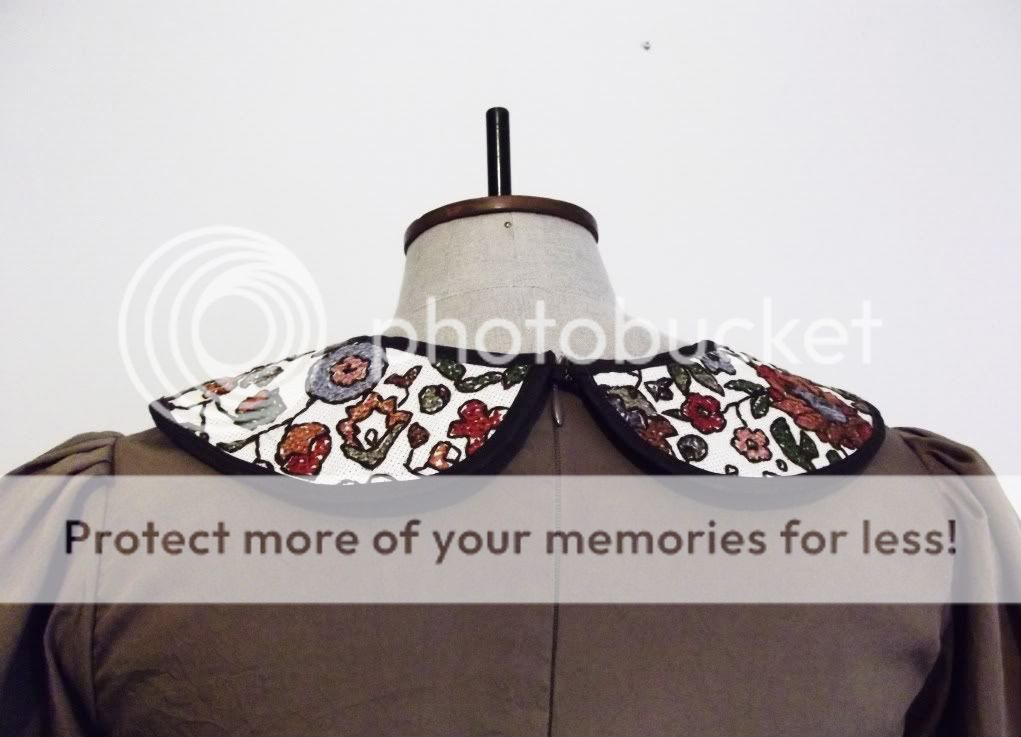 The second detachable collar was made from the vintage tapestry fabric. I used a lighter binding on the edges for this one for contrast, and also made it into a neck tie in the middle.


